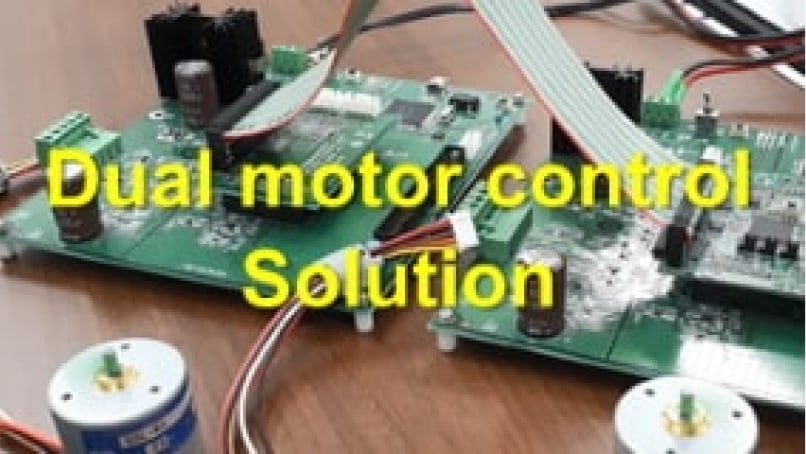
Hello, my name is Takeo Mimura. My current responsibility is the RA6T1 Group MCUs, the latest members of the RA MCU Family that are designed to make motor control easy.
This is the third time I have posted a Blog on the RA6T1.
This time, I show how to run a motor with encoder (made by Nidec Servo Corporation) by using the RA6T1 motor control RSSK. Let's look at the procedure.
There are 3 steps to follow.
The motor parameter extraction program and the sample program for the motor control with encoder interface are provided by Renesas. So, you can easily run your own motor with encoder on the RA6T1 motor control RSSK. (Note1)
STEP 1) Use the Tuner function to extract the parameters of your motor with encoder.
STEP 2) Set the number of encoder counts per motor shaft revolution in the configurator of the FSP.
STEP 3) Build and write the sample program.

(Note 1) This does not work for all motors, so please be careful when using it.
Let’s look into each step with some more detail level.
STEP 1)
Preparing the environment for extracting the motor parameters.
Write the extraction program included in Renesas Motor Workbench 2.0 distribution to the RA6T1 using Segger’s J-Flash Lite.


Next, boot up the Tuner function of the motor control development support tool "Renesas Motor Workbench".
When the window on the left of Figure 4 boots up, enter the Rated Current and Pole Pairs.
This time, I entered Rated Current=1.8A and Pole Pairs=7.
This parameter is different for each motor, so please enter the information for the motor you are using.

After entering the parameters, press the Start button and wait for a while to complete the extraction of the motor parameters.
Next, click the "Output Header File" button on the right side of Figure 4 to generate the following file to be reflected in the sample code.
- r_mtr_control_parameter.h
- r_mtr_motor_parameter.h
Then, overwrite and save the two generated motor parameter files.

STEP 2)
Use the FSP configuration function of the e2studio to set the number of encoder counts per motor shaft revolution. For the motor used in this example, I set it to “1200”. This parameter is different for each motor, so please enter the information for the motor you are using.
- rm_motor_sense_encoder : Cunts per Rotation = 1200
- rm_motor_position : Encoder Cunts per one rotation : 1200.0F

STEP 3)
The last step is to build the sample project and write it to the RA6T1.
The following controls can be performed in the sample program.
- Driving or Stop the motor in position control mode
- Driving or Stop the motor in speed control mode
- Change position
- Change speed
For more detailed information, we have prepared a encoder motor control application note.
Does it work at your side? If not, let me know.
If you get interested in this solution by reading this blog, please refer to the application note and try motor control with encoder interface. I hope this has been helpful to you.
And also, if you have interested in the past two Blogs, please read here.
First time: Out-of-the-Box: The New RA6T1 Motor Control RSSK
Second time: Evaluation environment for dual motor control by using Renesas RA Family RA6T1 group


