Migrating between Integrated Development Environments
- |
- |
Overview

Projects that have been created using PM+ can be ported to the CS+ environment in either of the following two ways.
- Convert an existing project to create a new project with CS+
- Create a new project in CS+ and register existing source files
| Process | Convert an Existing Project | Create a New Project |
|---|---|---|
| Source file registration | Automatic | Manual |
| Option setting | (Partially) automatic | Manual |
| Source file folder location | Automatic | No care needs to be taken regarding the file registration location. |
| Conflict between source files and automatically generated files | Files should be modified after a project is created. | Care should be taken regarding conflict at manual file registration. |
Converting a PM+ Project Into a CS+ Project
Projects created in PM+ can be converted into projects for CS+ by selecting a workspace file (*.prw) or a project file (*.prj).
Procedures
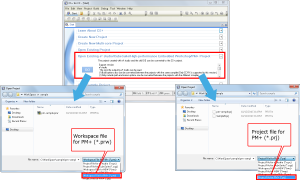
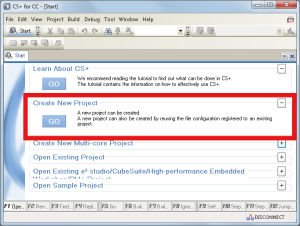
- Select [Open Existing e² studio/CubeSuite/High-performance Embedded Workshop/PM+ Project] in the startup screen of CS+.
- Select “Workspace File for PM+(*.prw)” or “Project File for PM+(*. prj)”.
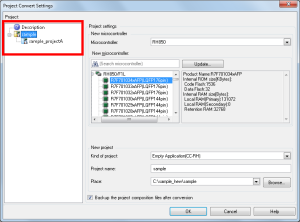
- Select the project to be set for conversion from the [Project Convert Settings] dialog box. Make the settings for the microcontroller, session, kind of project, project name, and place of storage which are to be used with the ported project.
When a PM+ workspace file is selected, the [Project] area shows the configuration of conversion target projects as a tree; select the project for carrying out the conversion settings.
Note: PM+ project groups are divided into projects with the same name as the project group.
Create a New Project in CS+ and Register Existing Source Files
- In the [Create Project] dialog box of CS+, select the type of microcontroller in [Microcontroller] and the particular device in [Using microcontroller], labeled (1) and (2) at right, set a name for the project in [Project name] and the place where it is to be stored in [Place], both labeled (3), and then click on the [Create] button.
- For example, select [RH850] and [RH850/E1L] for [Microcontroller] and [Using microcontroller], respectively.
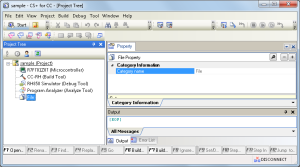
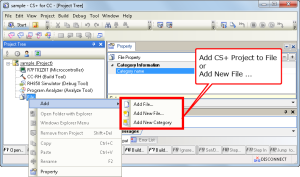
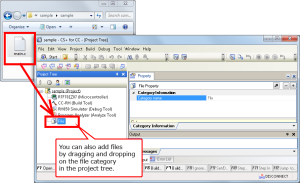
- Add the existing source files to the file branch of the [Project Tree]. New files can also be added.
![[Create Project] dialog box of CS+](/sites/default/files/styles/content_medium/public/media/images/migration-csplus-new-02.png?itok=1hM0USdU)
