Overview
GR-CITRUS can be run using the Ruby language. This article describes how to program using the Chrome app Rubic with Windows or MAC.
Preparation
Hardware
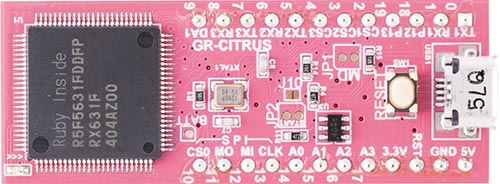
You will need a GR-CITRUS board and a USB cable (micro B type).

Software
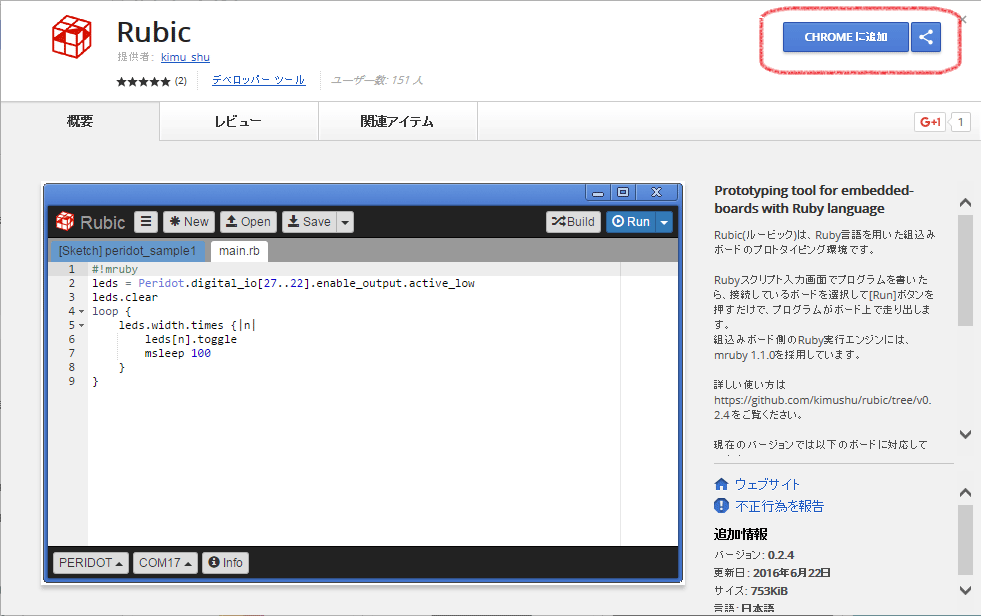
Install Rubic by opening the Rubic page on the Chrome website and adding the Rubic app to your browser. If you don’t have the Chrome web browser installed on your computer, you will need to do this first.
PC Connection and USB Driver
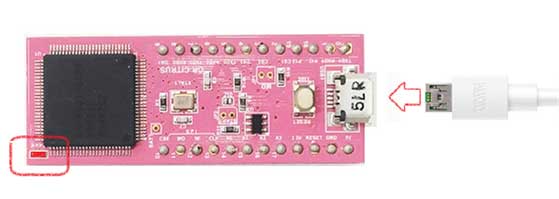
Connect the GR-CITRUS board to your PC. Your PC may need to recognize the USB driver, so you will need to download and specify the following initialization file (ini) file.
Click the link below to start the download. After the download is complete, decompress the file.
GR-CITRUS USB Driver (ZIP)
When the board is successfully connected to your PC, the red LED will light up. If it doesn’t, this may indicate that there is no RUBY firmware programmed to GR-CITRUS. In this case, please refer to the site link below titled “Recovering Ruby firmware.”
Protocol
1. Startup Rubic
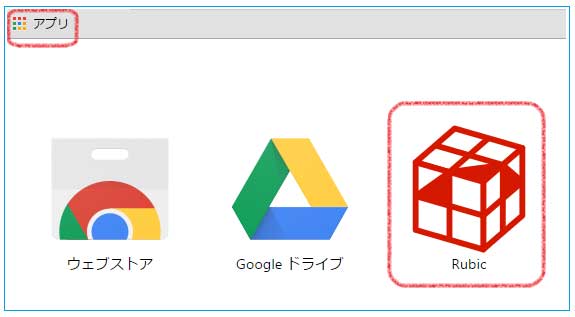
Open the Chrome browser and click Sketch in the browser tool bar. In the displayed app list, click Rubic to start the application.
2. Specify the Board and Port
Specify the following from the pull-down menu to the lower left of the Rubic screen.
Hardware configuration: GR-CITRUS
Connection destination; COM** (Windows)、/dev/tty.usbmodem1.1 (Mac)
(Set using the buttons on the lower left circled in red.)
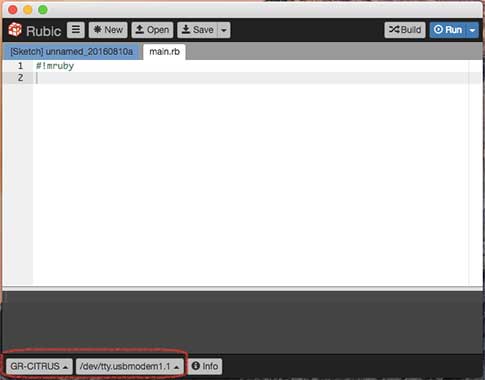
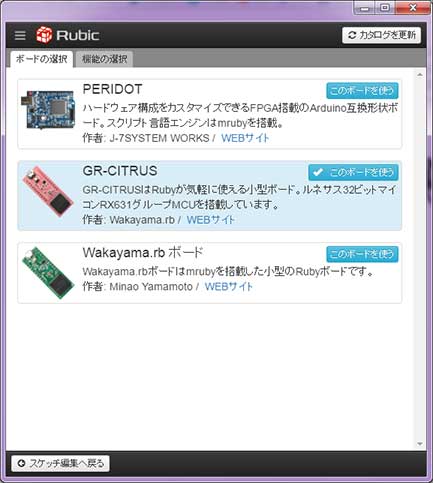
Select GR-CITRUS under Board Type.
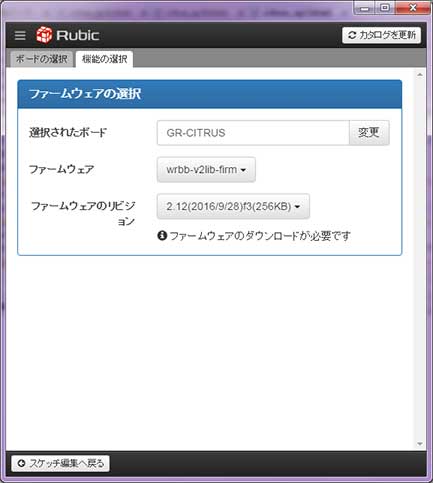
Set the firmware and revision with the board function tab.
Press the Information button to display version information. This display indicates that the state is ready for Rubic and GR-CITRUS to communicate successfully.

3. Run the Program
So, let’s try executing a simple program. Copy the following program to Rubic and press the Run button. The LED on GR-CITRUS should flash.
After this, repeated create and run programs.
    10.times do

     led 1

     delay 100

     led 0

     delay 100

     end
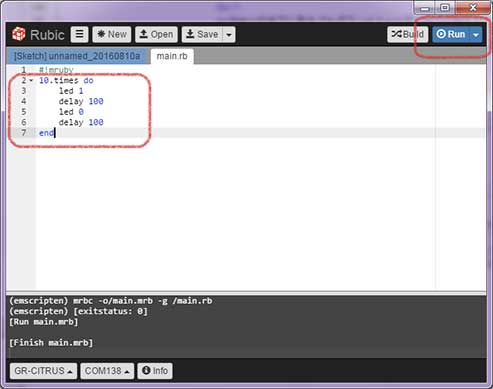
Sample
Refer to the GitHub link below for Ruby samples programmed for GR-CITRUS.
github.com/wakayamarb/wrbb-v2lib-firm/tree/master/sample/GR-CITRUS
Supply Power, then Execute the Ruby Program
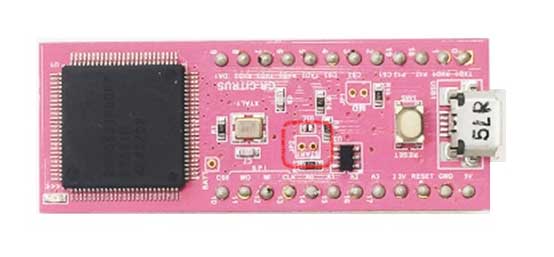
The GR-CITRUS board is set (default state) to wait for communication with Rubic. After supplying power to the board by shorting the START jumper as circled in red below, the MCU will automatically run the Ruby program written to GR-CITRUS.
Ruby Firmware Recovery
It is a link to GR-CITRUS' latest firmware for Ruby. To write the firmware, press the reset button of GR-CITRUS and recognize it as USB memory, then copy the bin file. For information about the latest firmware, refer to GitHub.
GR-CITRUS Ruby Firmware v2.35 (ZIP)