Overview
This page introduces using the GR-ADZUKI board with Scratch, a visual-based programming tool for kids, which can be used with either Windows or Mac. This example project uses the Scratch derivative solver calculator S4A.

Preparation
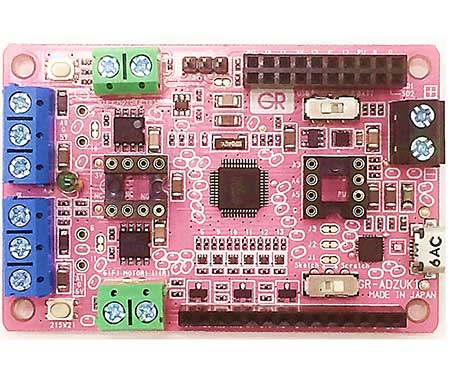
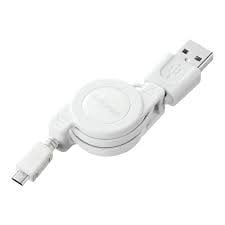
You will need a GR-ADZUKI board and a USB cable (Micro B type).
Protocol
1. Download and Install S4A
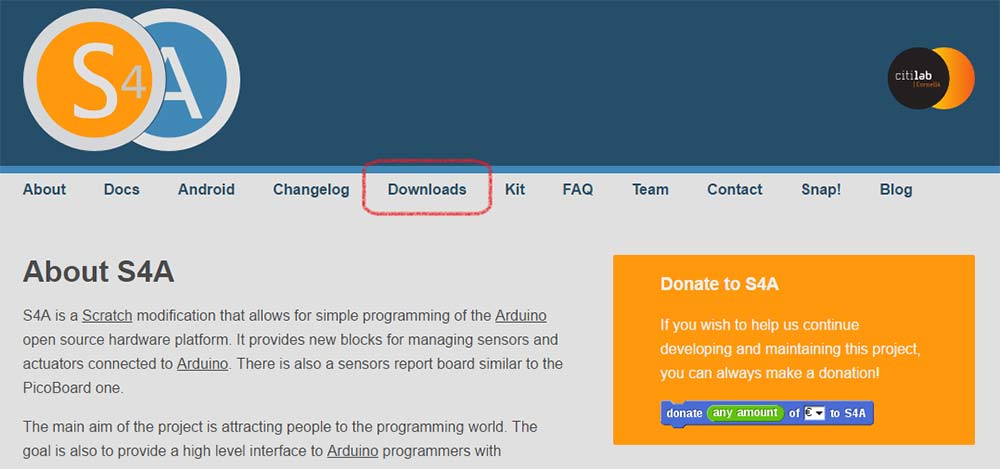
Open the S4A (Discontinued) site and click on “Downloads.”
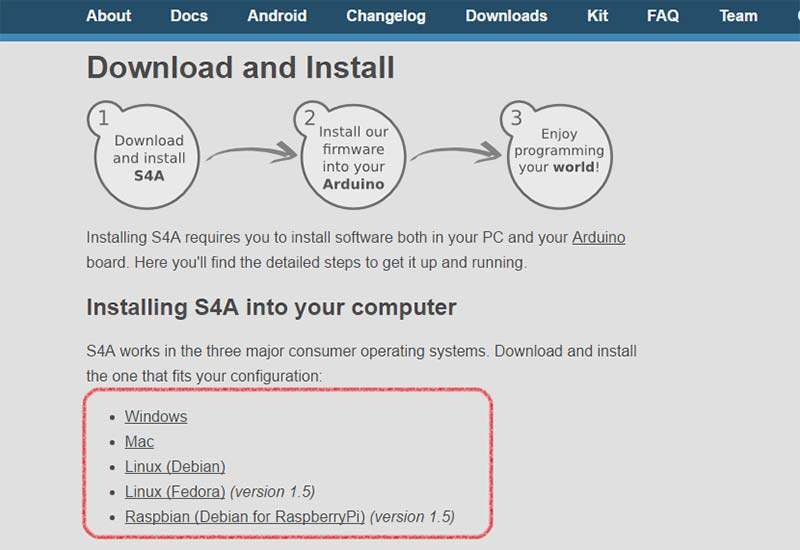
Download and install S4A on the PC you will be using to create your sketch.
2. Set GR-ADZUKI Switches and Connect PC
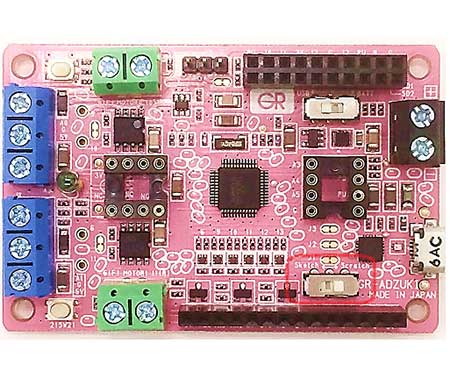
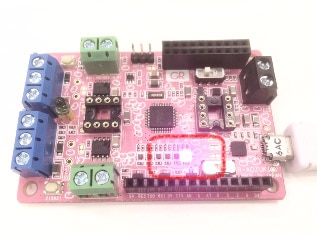
Set the slide switch on the GR-ADZUKI board to “Scratch” as shown in the photo.
3. Startup S4A
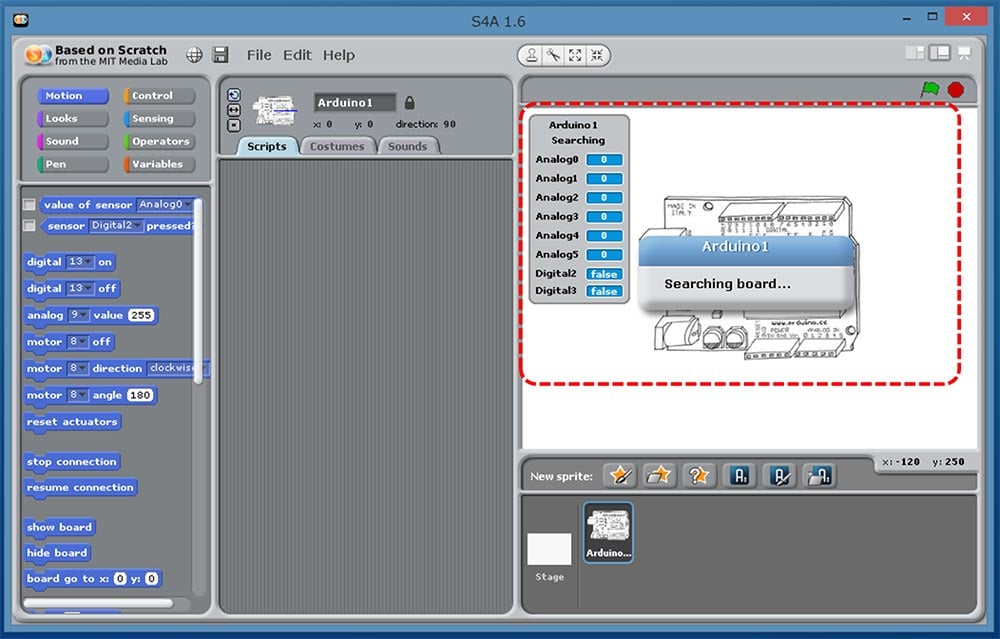
Connect GR-ADZUKI to your computer and startup S4A. As soon as S4A is running, it will start looking for GR-ADZUKI and the message “Searching board...” will appear.
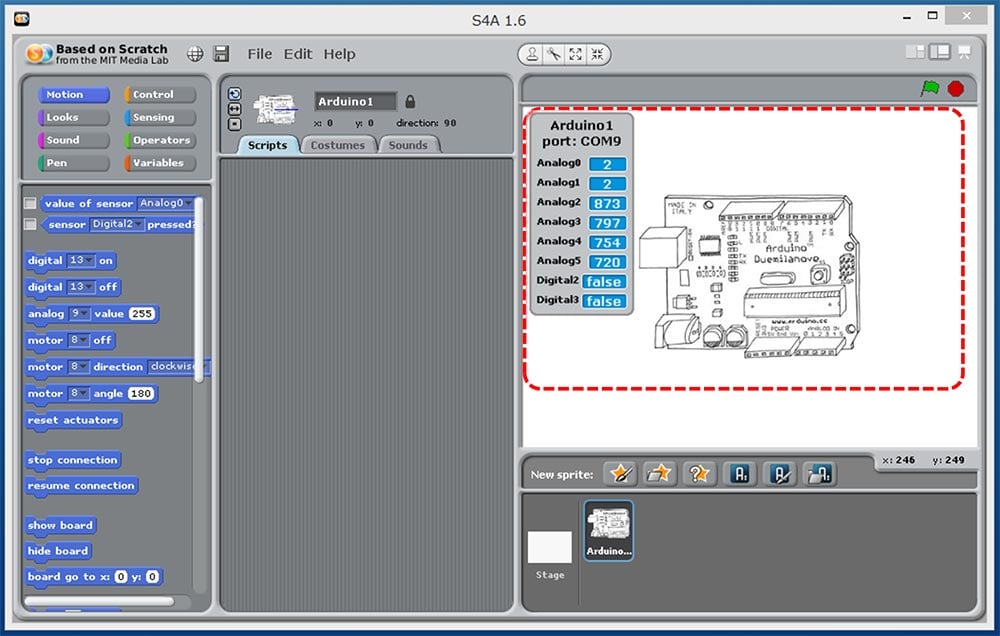
When it finds GR-ADZUKI, Analog0~Analog5, Digital2, and Digital3 will appear on the screen.
If this graphic is not displayed, please confirm the following:
- Is the GR-ADZUKI slide switch correctly set to Sketch?
- When using Windows, is the COM port set to number 32 or lower?
(If it is set to number 33 or higher, you need to use the device manager to set it to number 32 or lower.)
5. Confirm Illuminance Sensor (Brightness) Operations
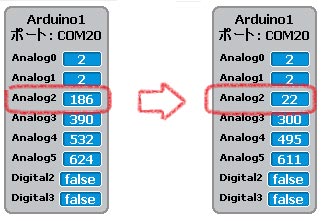
Place your hand over the GR-ADZUKI board, as shown in the photo to the right, to make it dark.
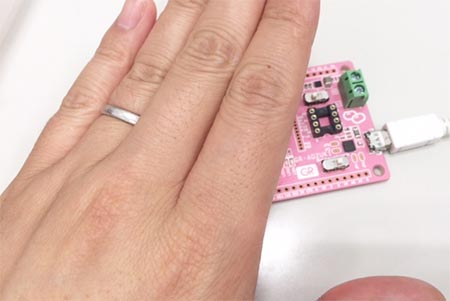
As you can see, the larger the value, the brighter the light; and, conversely, the lower the value the darker, or less illumination.
6. Confirm Button Switch Operations
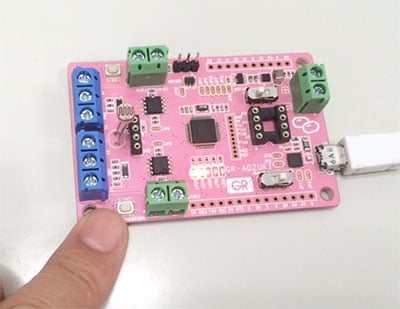
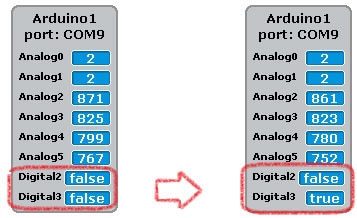
GR-ADZUKI is equipped with two button switches. Try pressing the switch indicated by the finger in the photo.
Digital3 changes from false to true. Press the other button switch to see how Digital2 changes.
Flash LED
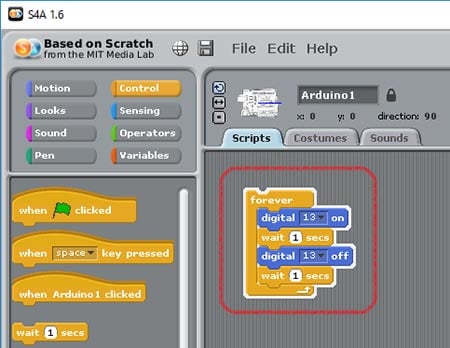
Let's experience Scratch programming. Try flashing an LED on GR-ADZUKI. Click the "digital 13 on" block to the left side of the screen.
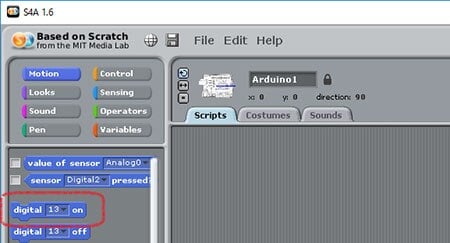
LED 13 flashes as shown here.
Arrange the blocks as shown here and then click "forever" to run. The LED blinks.
When it Gets Dark, the LED Flashes
Next, let's try using a conditional statement to do XX when OO occurs, and let the LED flash when it gets dark. Arrange the blocks as shown in the screen shot.
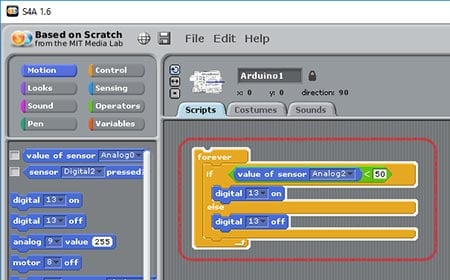
When holding hands and darkening, LED 13 flashes.

Change a Costume
Let's make the PC screen a little more fun at the end by editing the costume. Open the Costume tab and click the Edit button as shown in the screen shot.
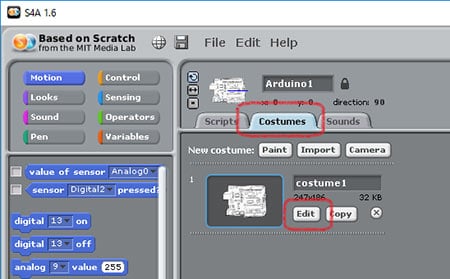
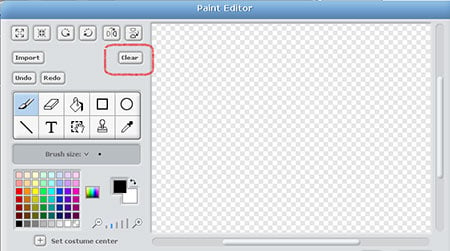
Once you delete the costume, click the Clear button.
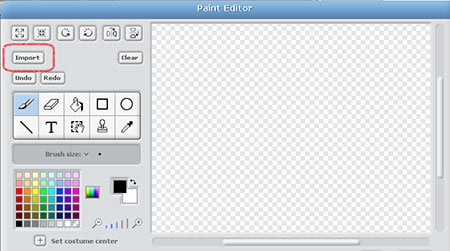
Click the Import button.
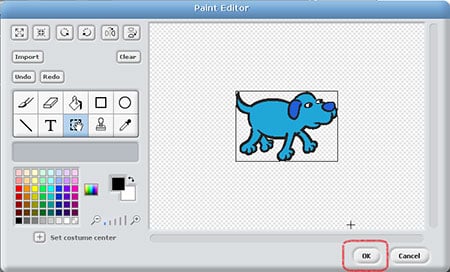
We're selecting a dog here. Click the OK button. By the way, I selected this sprite because I wanted to walk the dog after this.
To make another costume, click the Copy button.
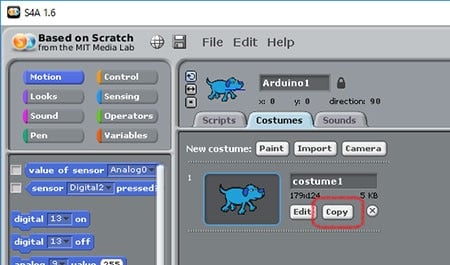
Since the costume is duplicated, click the Edit button to load another sprite.
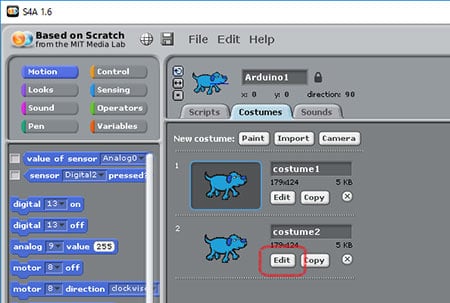
Open the Script tab and add three blocks to the LED Flash sample as shown in the screen shot. The costume changes only when you hold your hand over the GR-ADZUKI board; the sprite will move. It appears to be walking when you choose a dog.


Example
As Scratch programming is quite simple, I won’t go into a detailed explanation here. But, I would like to offer one simple example.
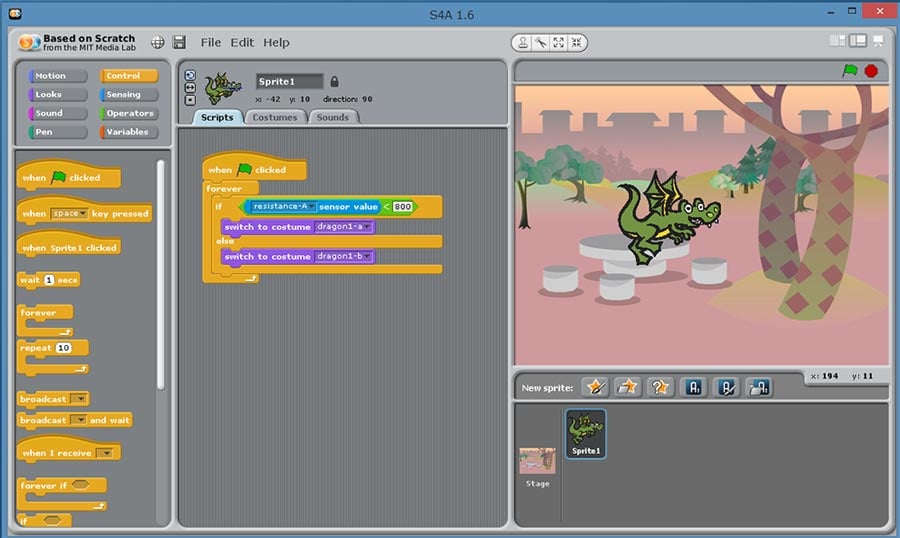
Using the brightness sensor, this example creates a fire-breathing dragon when a hand is held over the GR-ADZUKI board. To view the example, download the following file and read it using S4A, then press the green flag.
- Click the following link to start downloading the file: Dragon Scratch File (SB)
A screen image is shown to the right.
Restoring the S4A Firmware
After overwriting the GR-ADZUKI firmware with an Arduino Sketch, you will need to restore the firmware to use S4A again. To restore the firmware, store the following bin file in GR-ADZUKI. For instructions on how to write the file to GR-ADZUKI, refer to the Sketch Using a Web Compiler project.
- Click the following link to start downloading the file, and decompress the file after the download is complete.
S4A Firmware (ZIP)