Overview
This project introduces how to send a message from the GR-COTTON board using a USB cable.

Preparation
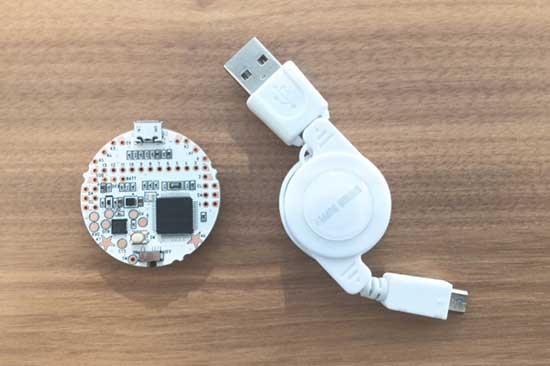
You will need GR-COTTON and a USB cable (Micro B type).
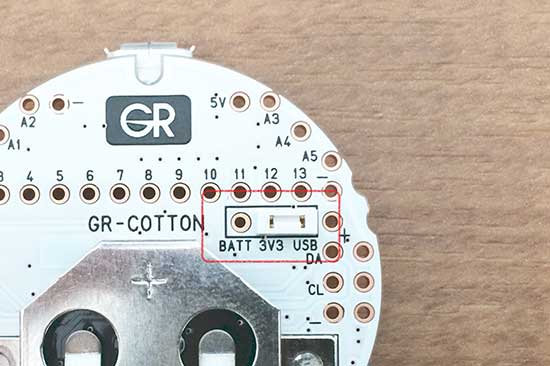
Make sure the white jumper on the reverse side of GR-COTTON is moved to the “3V3 USB” side. If it is set to the BATT side, remove and reinsert it into the USB side.
Hello World
GR-COTTON uses a USB cable to send a message to your computer. The sample below demonstrates how to display a repetitive “Hello World” message.
Try changing “Hello World” to something else.
    #include <arduino.h>

    void setup() {
      Serial.begin(9600);
    }

    void loop() {
      Serial.println("Hello World");
      delay(500);
    }
How to Display Messages
This describes messages displayed in a serial monitor.
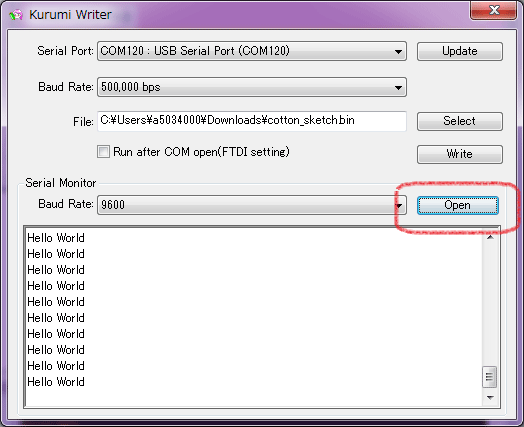
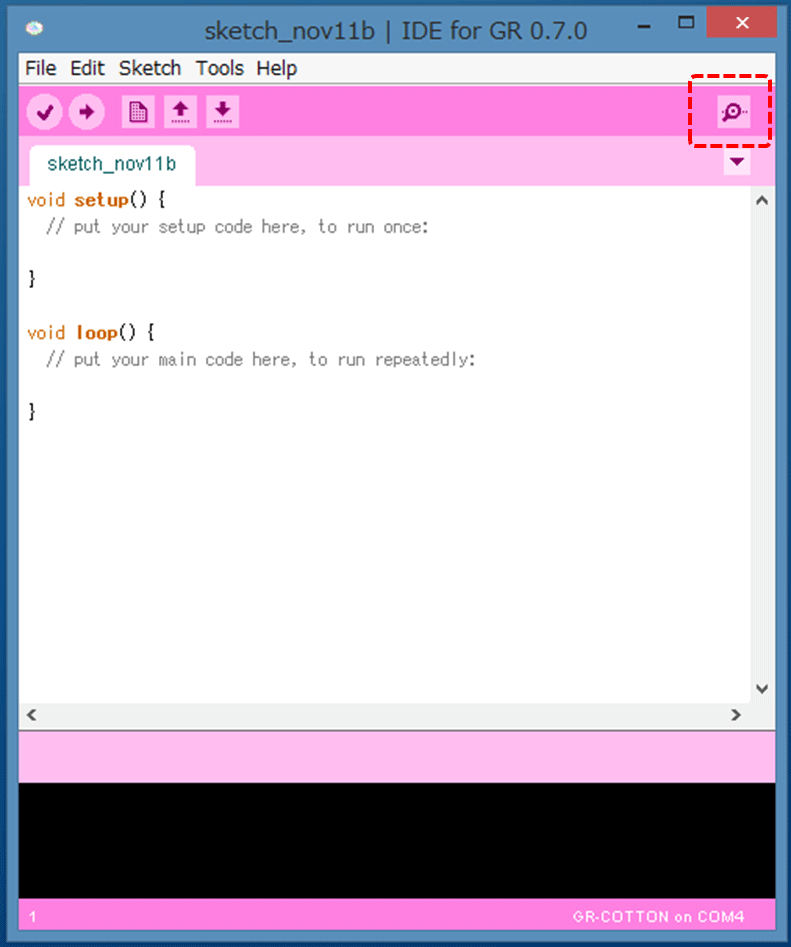
The figures below show where to click on KurumiWriter and IDE for GR, respectively.
(Kurumi Writer)
(IDE for GR)

Send a Message Indicating Temperature
GR-COTTON is equipped with an MCU featuring a built-in temperature sensor.
The program below sends a message indicating the temperature measured by the sensor.
    #include <arduino.h>

    void setup() {
      Serial.begin(9600);
    }

    void loop() {
      Serial.println(getTemperature(0));
      delay(500);
    }
Variable Values
This sketch displays the variable values being used.
The sample displays decimal, hexadecimal and binary, separated by tabs.
    #include <arduino.h>

    void setup() {
      Serial.begin(9600);
    }

    void loop() {
      static int i = 0;
      Serial.print(i); // decimal
      Serial.print("\t"); // tab
      Serial.print(i, HEX); // hex
      Serial.print("\t"); // tab
      Serial.print(i, BIN); // binary
      Serial.println(); // line feed
      i++;
      delay(100);
    }
Support

Support Communities

