Overview
This project provides details on how to use the Gadget Renesas GR-LYCHEE board as a web camera to display images on a web browser using Wi-Fi. GR-LYCHEE has an ESP32 module, which allows a connection between Wi-Fi and Bluetooth Low Energy (BLE).
Preparation
Hardware
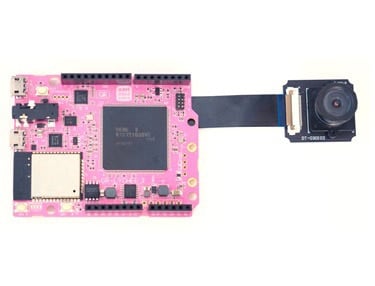
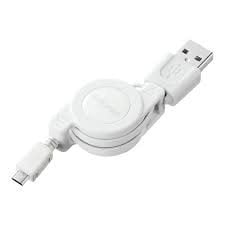
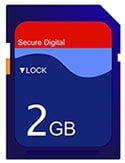
Prepare the GR-LYCHEE board, a USB cable (Micro B type) and an SD card. For details on how to install the camera, refer to the How to Attach the Camera, Accessories, LCD project.
Web Camera Sample
First, save the "index.htm" file for the browser display on the SD card.
-
Right click on the following link and save "Save target to file" to download.
After saving, insert the SD card into the GR-LYCHEE board and execute the following sketch.
    #include <Arduino.h>
    #include <Camera.h>
    #include <SD.h>
    #include <HTTPServer.h>
    #include <mbed_rpc.h>
    #include <SdUsbConnect.h>
    #include <ESP32Interface.h>

    ESP32Interface network;
    #define WIFI_SSID "elecom2g01-45ea1e"
    #define WIFI_PW "renerene"

    Camera camera(320, 240);
    SdUsbConnect storage("storage");

    static int snapshot_req(const char ** pp_data) {
      size_t size = camera.createJpeg();
      *pp_data = (const char*)camera.getJpegAdr();
      return size;
    }

    void setup(void) {

      Serial.begin(9600);
      Serial.println("Starts.");

      // SD & USB
      Serial.print("Finding strage..");
      storage.wait_connect();
      Serial.println("done");

      camera.begin();

      Serial.print("Connecting Wi-Fi..");
      network.connect(WIFI_SSID, WIFI_PW, NSAPI_SECURITY_WPA_WPA2);
      Serial.println("done");

      Serial.print("MAC Address is ");
      Serial.println(network.get_mac_address());
      Serial.print("IP Address is ");
      Serial.println(network.get_ip_address());
      Serial.print("NetMask is ");
      Serial.println(network.get_netmask());
      Serial.print("Gateway Address is ");
      Serial.println(network.get_gateway());
      Serial.println("Network Setup OK\r\n");

      SnapshotHandler::attach_req(&snapshot_req);
      HTTPServerAddHandler<SnapshotHandler>("/camera"); //Camera
      FSHandler::mount("/storage", "/");
      HTTPServerAddHandler<FSHandler>("/");
      HTTPServerAddHandler<RPCHandler>("/rpc");
      HTTPServerStart(&network, 80);

    }

    void loop() {
    }
Confirm Web Camera Operation
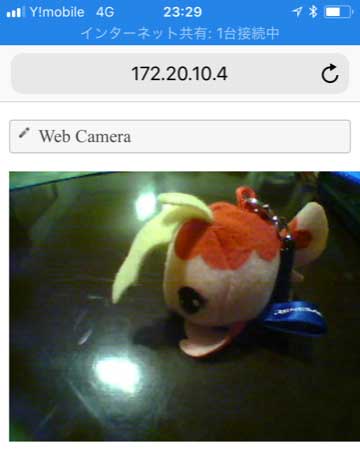
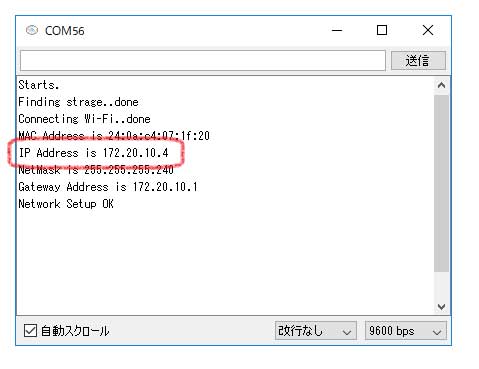
Activate the serial monitor and press the GR-LYCHEE board's reset button. The IP address obtained by DHCP is displayed as shown in the image to the right.
Type in the displayed IP address in the web browser's URL. The screen shown to the right is displayed.
The camera image is displayed.