Overview:
This project provides instructions for how to use the camera attached to the Gadget Renesas GR-LYCHEE board. It is available on Windows and Mac.
Preparation
Hardware
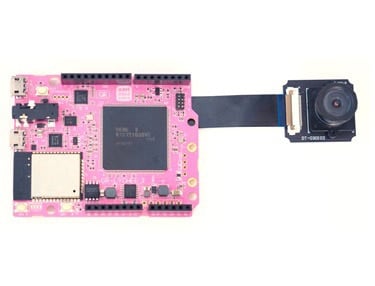
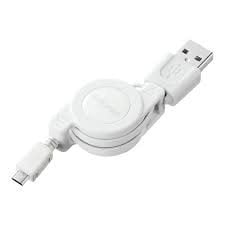
Prepare the GR-LYCHEE board and a USB cable (Micro B type). For details on how to install the camera, refer to the How to Attach the Camera, Accessories, LCD project.
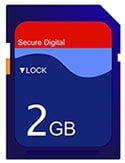
If you have an SD card, you can also try the example to save photos for later.
Software
Download and unzip the DisplayApp file. It is an application for checking the camera image with a PC.
Display the Camera Image on the PC
Write the following program for GR-LYCHEE.
    #include <Arduino.h>
    #include <Camera.h>
    #include "DisplayApp.h"
    Camera camera(640, 480);
    static DisplayApp display_app;
    void setup() {
        camera.begin();
    }

    void loop() {
        display_app.SendJpeg(camera.getJpegAdr(), (int)camera.createJpeg());
        delay(10);
    }
Next, start DisplayApp and connect the USB cable to USB0 on GR-LYCHEE.

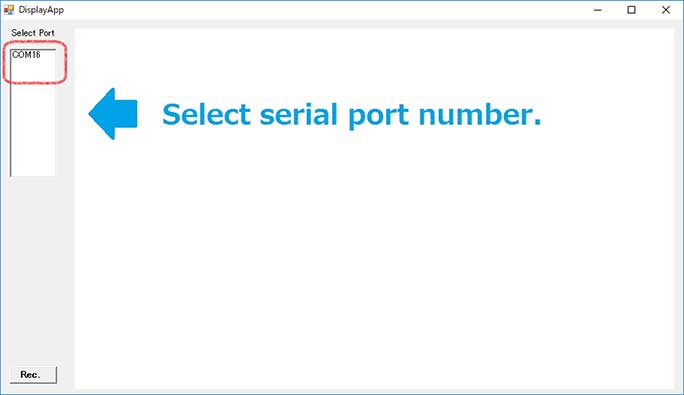
The serial port is displayed. For Windows, COMxx is displayed, and for Mac, /dev/xxx is displayed as the port name, click on it.
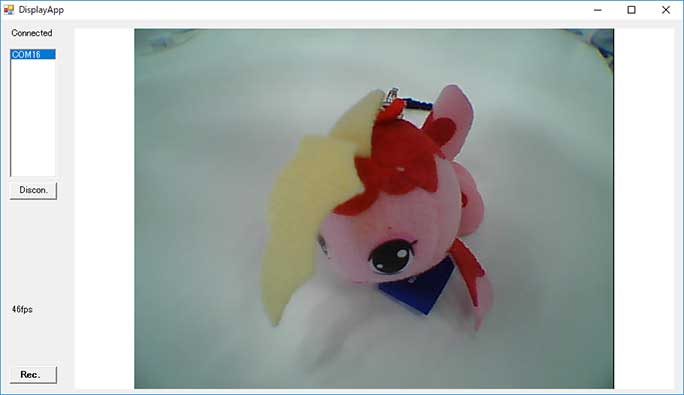
The image from the camera is displayed on DisplayApp.
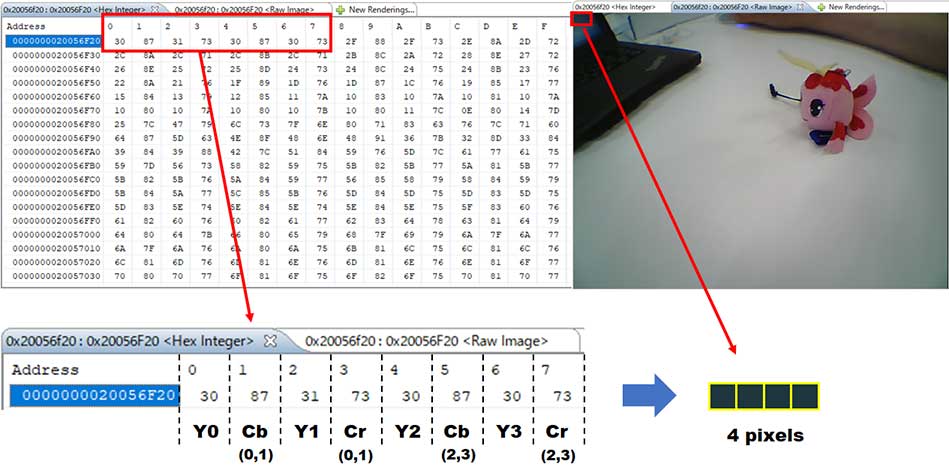
About the Camera's Image Data
Camera images are stored in the memory in YCbCr format. The actual stored images are as follows and are stored in the order Y0, Cb, Y1, Cr. Since it is 2 bytes per pixel, for example VGA (640 x 480), 640 x 480 x 2 = 614, 400 bytes of memory is used.
The storage address can be obtained with camera.getImageAdr ().
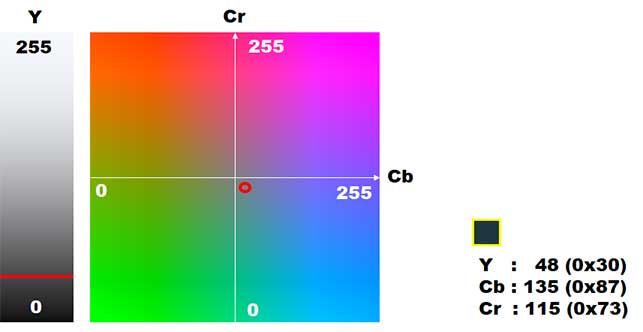
The following figure shows the colors represented by Y, Cb and Cr values. Since the first pixel is Y = 0x30, Cb = 0x87, Cr = 0x73, it is quite dark blue.
Save to an SD Card
Next, save the photo on the SD card. The sample program is shown below. Since it is a program to acquire a timestamp by NTP, if you can use Wi-Fi, please change WIFI_SSID and WIFI_PW appropriately. Even if Wi-Fi cannot be used, it can be executed, but it takes about 20 seconds to skip connection.
Since the NTP Client library for Mbed is required to execute the sample, please import the following zip to the Web compiler or IDE for GR.
- NTP Client Library File (ZIP)
    #include <Arduino.h>
    #include <Camera.h>
    #include <RTC.h>
    #include <ESP32Interface.h>
    #include <NTPClient.h>
    #include <SdUsbConnect.h>

    #define WIFI_SSID "elecom2g01-45ea1e"
    #define WIFI_PW "renerene"

    Camera camera(640, 480);
    ESP32Interface wifi;
    RTC rtc;
    SdUsbConnect storage("storage");

    void setup() {
      Serial.begin(9600);
      pinMode(PIN_LED_RED, OUTPUT);
      pinMode(PIN_LED_GREEN, OUTPUT);
      pinMode(PIN_LED_YELLOW, OUTPUT);
      pinMode(PIN_SW0, INPUT);

      rtc.begin();
      Serial.print("Connecting Wi-Fi..");
      wifi.connect(WIFI_SSID, WIFI_PW, NSAPI_SECURITY_WPA_WPA2);
      Serial.println("done");
      Serial.print("Accessing NTP..");
      NTPClient ntp(&wifi);
      time_t tstamp = ntp.get_timestamp();
      if(tstamp < 0){
        Serial.println("Cannot get time from NTP.");
        rtc.setDateTime(2018, 4, 19, 16, 40, 0);
      }
      else {
        Serial.println("done");
        struct tm tim = *localtime(&tstamp);
        rtc.setDateTime(tim.tm_year+1900, tim.tm_mon+1, tim.tm_mday, tim.tm_hour, tim.tm_min, tim.tm_sec);
      }

      // Camera
      camera.begin();

      // SD & USB
      Serial.print("Finding strage..");
      storage.wait_connect();
      Serial.println("done");
      Serial.println("Push UB0 to take a photo.");
    }

    void loop() {
      if(digitalRead(PIN_SW0) == LOW){
        digitalWrite(PIN_LED_YELLOW, HIGH);
        FILE * wp = fopen("/storage/lychee_camera.jpg", "w");
        if (wp != NULL) {
          size_t size = camera.createJpeg();
          fwrite(camera.getJpegAdr(), sizeof(char), (int) size, wp);
          fclose(wp);
        } else {
          Serial.print("Not found jpg");
          digitalWrite(PIN_LED_RED, HIGH);
          delay(1);
        }
        Serial.println("done to take a photo");
        while(digitalRead(PIN_SW0) == LOW);
        digitalWrite(PIN_LED_YELLOW, LOW);
      }
    }
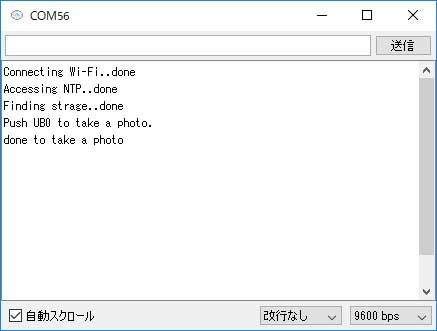
Let's insert the SD card into GR-LYCHEE and run the program. Display the serial monitor and press UB0, when "Push UB0 to take a photo" is confirmed, the program will be executed. The photos are saved on the SD card.
