メインコンテンツに移動

昇降圧レギュレータ(FET内蔵)

ルネサスは、FET内蔵高性能昇降圧レギュレータの幅広いポートフォリオを提供しています。 昇降圧ソリューションの利点は、全電源電圧範囲にわたって出力電圧を調整できることです。 昇降圧コンバータ・ソリューションは通常、降圧コンバータ・ソリューションよりも効率が下がり、より大きいフットプリントが必要となります。

ルネサスの昇降圧レギュレータ・ファミリ「ISL911xx」は、超小型インダクタやキャパシタとの使用が可能で、基板面積を14mm2未満に抑えることができ、スペースに制約のあるモバイル機器に最適な2Aスイッチング・コンバータソリューションです。 先進的なウエハレベルCSPパッケージにより、必要な外付け部品は1個のインダクタとその他の少数の部品だけとなり、より小さいスペースを実現します。 ISL911xxレギュレータの2.5MHzスイッチング周波数により、電源ソリューションのサイズがさらに縮小できます。
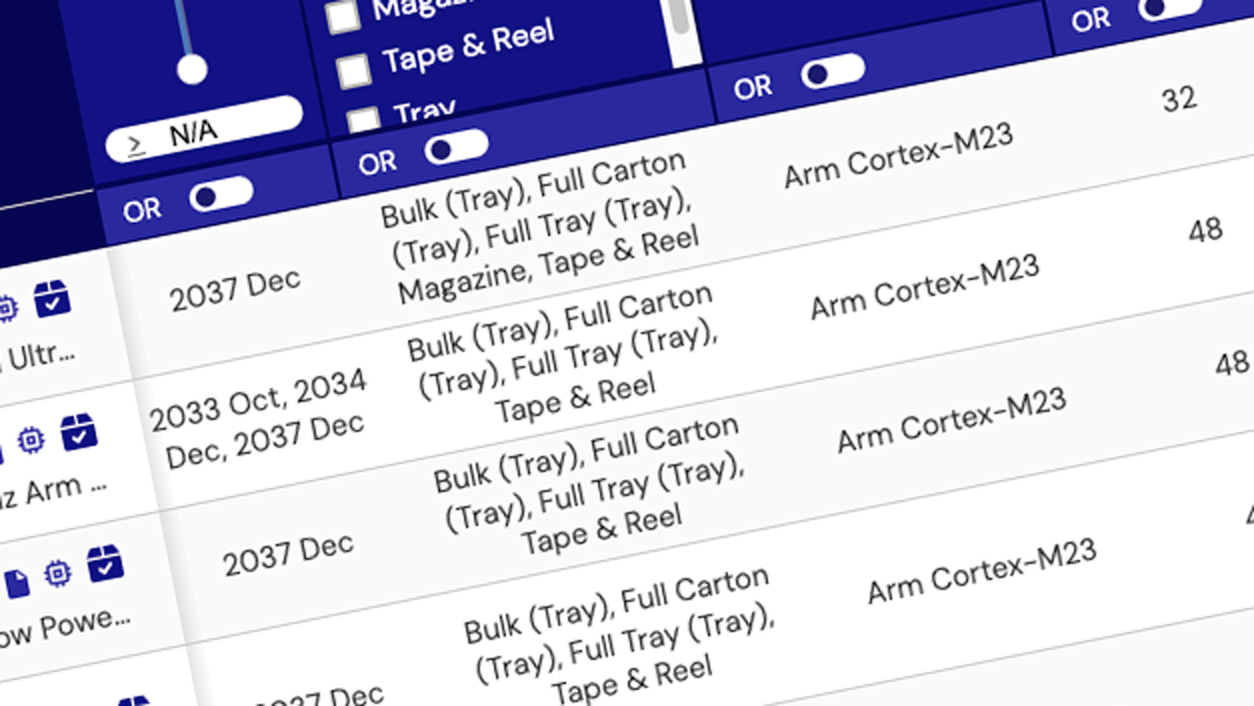
プロダクトセレクタ: 昇降圧レギュレータ(FET内蔵)

パラメトリック製品セレクタを使用してカタログ上の製品を検索してみてください。パラメータ毎に スペックを比較することでお客様の設計に適した製品が表示されます。

プロダクトセレクタ

ドキュメント

分類 タイトル 日時
カタログ PDF 10.49 MB English
ホワイトペーパー PDF 525 KB English , 简体中文
ホワイトペーパー PDF 572 KB 简体中文
ホワイトペーパー PDF 576 KB 简体中文
4件

ビデオ&トレーニング

Evaluating the ISL95338 USB-C Buck-Boost Regulator

Learn how to set up the ISL95338 evaluation board and connect the EVB to the GUI interface. See a demonstration of the GUI interface, forward mode, reverse mode, and phase voltages.

Related Resources

Transcript

Hi, my name is Phil Brinkley. I'm with Intersil, a Renesas company and today I want to demonstrate how to make use of the ISL95338 evaluation board.

First thing you do after you receive the board is to go to the landing page for the ISL95338 and download the GUI software that goes along with it as well the user's guide for the evaluation board.

The lab equipment you'll need to run the board is an adjustable DC power supply, a digital multimeter and an oscilloscope is nice to have but not essential.

Okay, once you unpack your board you want to make sure the jumpers are in the right place. This is J4 needs to be installed, J6 and seven need to be on the left side of that 3-pin header. The two switches S3 and S4 need to be to the left, being high. And switch one and switch two need to be to the right, being low.

Once you have your software installed you want to plug in the USB. It should acknowledge with a beep that you've plugged it in and all three LEDs go on.

Forward Mode Operation

The first demo we're gonna walk through is forward mode in buck mode. So we're gonna apply power to the ADP side and measure the voltage out on the system side. Connect the multimeter up to your board to measure the output voltage on VSYS. As long as S1 is on the low side VSYS should read around 0V. Once you have your board wired up go ahead and apply 12V to the board. Should check the current on the output. It should be very low, less than a milliamp or so. You'll notice that the two LEDs go out here, that implies that we have power to the board.

So you want to click on reset USB in the upper right-hand corner once the board is powered and the USB connected. And verify that you get a green checkmark on the USB interface. Once you have a green check mark you can read the manufacturer ID and you should see 0049 hex. That indicates that the board is connected and reading the registers properly.

So for forward mode in buck mode, we wanna set the output voltage to say 5V. You'll see that it rounds up to 5.004V. You want to write that register. You can also click on write all or read all. In this case, let's read all and verify that the D08 register, or that that value, was set in the register.

Once you have written the registers to drive approximately 5V out on VSYS you can measure that and switch S1 over to high. You should see around 5V. In our case we have it commanded to be 5.004V out and are reading very close to that. So we've now demonstrated forward mode using a buck converter; 12V in, 5V out. Let's now look at reverse mode. To do so we will reverse our connections and use the GUI to enable reverse mode operation.

Reverse Mode Operation

First, disable our power supply. Turn S1 back to low and we're gonna reverse our connections. So now I'm gonna put the power coming in on VSYS and we will measure the power out on the ADP side. Okay, now that we've reversed our connections we're gonna enable power coming into the VSYS. We have 12V coming in and around 0.2mA being drawn. We're measuring the output. Currently, it's off. In the GUI I'm gonna set my reverse regulation voltage to 5V and write all the registers. I can read them to make sure that they did take and they did. And then I can enable switch two which will now turn on the output. We can see that the output measured now 5V. So we've demonstrated forward mode as well as reverse mode.

Buck to Buck-Boost to Boost Mode

Now that we've demonstrated both forward and reverse mode the other thing you can do is add an oscilloscope in. We can look at the phase voltages and watch how they change as our input voltage changes to move it from buck mode to buck-boost mode and to boost mode. So this is a look at the phase voltages. We currently have 12V coming in and 5V going out. So we're in buck mode. As I ramp down the power supply from 12V down to 7, 6, 5 now I can see it's moved into buck-boost mode and pure boost mode if I go down to 4V. As I go back up 4, to 5, to 6, you can see that we're now back into buck mode. So that's 12V in and 5V out.

Well, thanks for watching and have a great day.

ツール&リソース