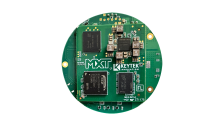
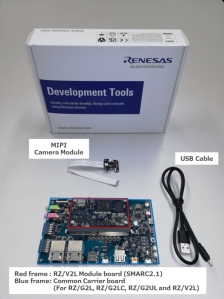
RZ/V2L Evaluation Board Kit
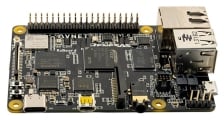
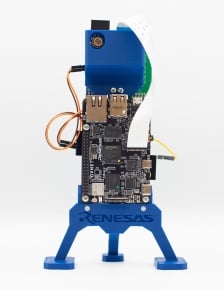
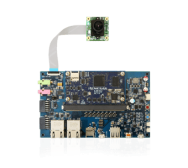
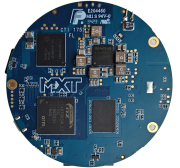
RZ/V2Lの評価に最適な評価ボードキットです。RZ/V2L Evaluation Board Kitはモジュールボード(SOM)とキャリアボードで構成されています。また、MIPIカメラモジュール(MIPI CSI)を同梱しています。キャリアボードはSMARC v2.1規格に沿って準備されるRZ/G2L、RZ/G2LC、RZ/G2UL...
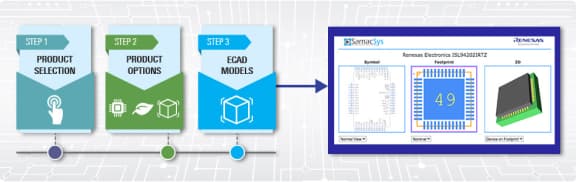
クラウド上のラボで利用可能
PCベースのGUIで、実物のボードを使わずに、仮想ラボ上で開発とテストを開始できます。